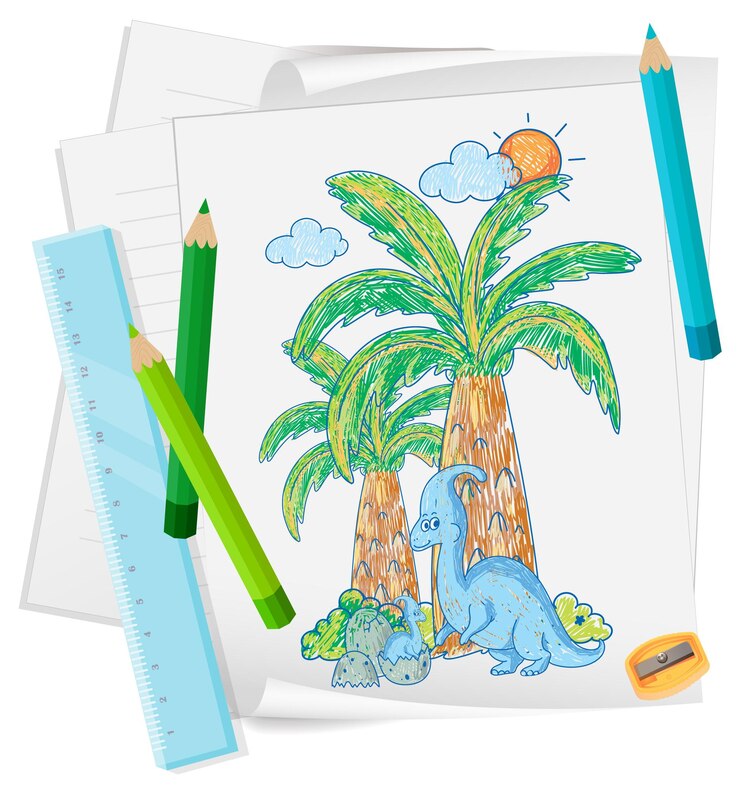
Palm trees evoke images of serene beaches, tropical paradises, and endless summer days. Their elegant structure and lush fronds make them a popular subject in art, especially for those looking to bring a touch of nature into their home decor. Whether you’re an art enthusiast, amateur artist, or someone who loves decorating spaces with personal artwork, learning to color palm trees effectively can elevate your drawing from simple to stunning. This guide will walk you through the process, offering expert tips and insights to make your palm tree illustrations come to life.
The Allure of Palm Trees in Art and Home Decor
Palm trees are more than just plants; they symbolize relaxation, freedom, and escape from the mundane. Including a beautifully colored palm tree drawing in your art collection or home decor can transport viewers to a tropical oasis, making them a favorite subject for many artists.
The key to making your palm tree drawing stand out lies in your ability to color it effectively. By paying attention to details like lighting, atmosphere, and the choice of colors, you can create a piece that not only looks lifelike but also resonates with the emotions you’re trying to convey.
In this blog post, we’ll explore various techniques to help you color your palm tree drawing like a pro. Whether you’re using traditional mediums like watercolors and markers or digital tools, these tips will enhance your skills and boost your confidence as an artist.
Sketching the Perfect Palm Tree
Before we get into coloring, it’s essential to start with a good sketch. A well-drawn palm tree provides a solid foundation for your coloring efforts, ensuring that your final piece looks balanced and realistic.
Basic Drawing Techniques
Start by sketching the trunk of the palm tree. Use light strokes to outline the shape, making it slightly curved for a more natural look. Palm tree trunks are typically narrower at the top and wider at the base, with a textured, rough surface. Adding a few gentle curves and lines can mimic this texture.
Next, draw the fronds. Begin by sketching the central veins of the leaves, radiating out from the top of the trunk in a fan-like pattern. Then, add the smaller leaflets along each central vein. Keep your lines light and fluid, as palm fronds are known for their graceful, arching shapes.
Finally, refine your sketch by adding details like the ridges on the trunk and the individual leaflets. Take your time with this step, as a detailed sketch will make the coloring process much smoother.
Tips for a Lifelike Depiction
To make your palm tree drawing more lifelike, observe real palm trees or reference photos. Pay attention to the variations in the trunk’s texture and the way the fronds curve and overlap. Adding these details will give your drawing a sense of realism and depth.
Remember to keep your lines light during the sketching phase. This allows for easy adjustments and ensures that your final drawing doesn’t look too heavy or overworked. Once you’re satisfied with your sketch, you can proceed to the coloring stage.
The Art of Coloring
Coloring is where your palm tree drawing truly comes to life. By considering the atmosphere, lighting, and choice of colors, you can create a piece that captures the essence of a tropical paradise.
Atmosphere and Lighting
One of the most critical aspects of coloring your palm tree drawing is understanding how lighting affects the colors. Depending on the time of day and the weather conditions, the colors of the palm tree can vary significantly.
For a sunny, midday scene, use bright greens for the fronds and warm browns for the trunk. Add highlights where the sunlight hits the leaves and trunk to create a sense of brightness and warmth. For a sunset scene, incorporate shades of orange, pink, and purple into the fronds and trunk to reflect the changing light.
Selection of Colors
Choosing the right colors is essential for creating a realistic and visually appealing palm tree drawing. For the fronds, use a range of greens, from light, yellowish hues to deep, blueish tones. This variation will add depth and dimension to your drawing.
For the trunk, start with a base color of warm brown and layer different shades to create texture and contrast. You can use darker browns and even hints of gray to mimic the rough, textured surface of the trunk.
Don’t be afraid to experiment with colors to achieve the desired effect. Mixing different shades and tones can create a more dynamic and engaging piece of art.
Tips for Using Different Mediums
The medium you choose can significantly impact the final look of your palm tree drawing. Each medium has its unique characteristics and techniques, so it’s essential to understand how to use them effectively.

Watercolors
Watercolors are excellent for creating soft, transparent layers of color. To achieve a vibrant and realistic palm tree, start with light washes of green for the fronds and brown for the trunk. Build up the colors gradually, allowing each layer to dry before adding the next.
Use a fine brush to add details like the veins of the leaves and the texture of the trunk. Watercolors can be unpredictable, so embrace the fluidity and spontaneity they offer to create a more organic and natural-looking piece.
Markers
Markers provide bold, saturated colors that can make your palm tree drawing pop. Start by outlining the fronds and trunk with a fine-tip marker. Then, use broader markers to fill in the colors, layering different shades to create depth and dimension.
To blend the colors smoothly, use markers with a brush tip or a blender marker. This will help you achieve a more seamless transition between different shades and tones.
Digital Tools
Digital tools offer endless possibilities for coloring your palm tree drawing. Use software like Adobe Photoshop or Procreate to create layers, blend colors, and add details with precision.
Experiment with different brushes and blending modes to achieve various effects, from soft and subtle gradients to bold and vibrant hues. Digital tools also allow for easy adjustments, so don’t be afraid to play around with different color schemes and techniques.
Highlighting the Role of Shadows and Highlights
Adding shadows and highlights is crucial for creating a realistic and three-dimensional palm tree drawing. By understanding how light interacts with the tree, you can enhance the depth and dimension of your artwork.
Understanding Light Source
Determine the direction of the light source in your drawing. This will help you decide where to place the shadows and highlights. For example, if the light is coming from the top left, the shadows will fall on the bottom right of the fronds and trunk.
Adding Shadows
Use darker shades of green and brown to add shadows to the fronds and trunk. These shadows should follow the contours of the leaves and the texture of the trunk, creating a sense of depth and volume.
Be mindful of the intensity of the shadows. Softer, more diffuse shadows are appropriate for a cloudy day, while sharp, defined shadows work well for a sunny scene.
Applying Highlights
Highlights are the areas where the light hits the tree directly. Use lighter shades of green and brown to add highlights to the fronds and trunk, creating a sense of brightness and realism.
For a more dynamic effect, consider adding a few strokes of white or light yellow to the highlights. This will make your palm tree drawing appear more vibrant and lifelike.
Conclusion
Coloring a palm tree drawing involves more than just filling in spaces with green and brown. By paying attention to details like lighting, color selection, and the use of different mediums, you can create a piece that captures the beauty and elegance of a tropical paradise.
Remember to start with a well-drawn sketch, choose your colors thoughtfully, and experiment with different techniques to achieve the desired effect. Adding shadows and highlights will enhance the realism and depth of your drawing, making it stand out.
We hope these tips have inspired you to take your palm tree drawing to the next level. If you create a masterpiece using these techniques, we’d love to see it! Share your artwork with our community and join the conversation with fellow art enthusiasts.
Happy coloring!


